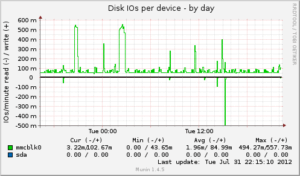
 Munin is a great open source tool for graphing performance metrics (amongst other things) of your linux hardware.
It’s not the most intuitive of tools to use and some others like cacti might be a bit easier on the eyes, however the functionality is great and the application is fairly light weight which really helps on this hardware.
Also there are a great selection of graphs created by default for your device such as; CPU Load, Memory Usage, Disk Usage, Disk Latency, Network Throughput, Network Errors,
To all munin installs there are two seperate programs:
- Munin – The server that does all the graphing and polling of your nodes
- Munin-Node – The agent installed on your server(s) that you want to graph data from.
Installing Munin-Node
Ok so on my raspberry pi I want to install the munin-node, I already have a munin server so there isn’t really a need to install that again.
apt-get install munin-node
Ok so that’s the software installed, now to configure…
nano /etc/munin/munin-node.conf
Now enter the following line into the file, where the IP address is of your central ‘munin’ server that will be polling this device.
allow ^10.10.10.10$
To apply your configuration reboot the munin-node service on the raspberry pi
sudo service munin-node restart
Now go to your munin server and in the configuration add a reference to your raspberry pi:
Note; if you don’t have a munin server please read this guide.
/etc/munin/munin.conf
[RaspberryPi.mydomain]
    address 22.22.22.22
    use_node_name yes
That should be it, wait 5min for the next poll to come around and you should have some graphs.


2 comments On HowTo: Install Munin on a Raspberry Pi
Please check your /etc/munin/munin.conf entry: The line “address allow 22.22.22.22” is wrong. Should just be “address 22.22.22.22”.
Thanks, I have updated the post