 So to get started with the Raspberry PI you will obviously need the board, a USB power cable and an SD card that you can format. I was actually considering using a USB pen instead although after some research that’s currently not supported, and the PI won’t boot without an SD card installed.
1. Download SD Card Image
You will need to download an SD card image with the operating system of your choice, you can get these from here. I would recomend downloading the debian based raspbian “wheezy” distro, it’s got a few enhancements just for the PI and comes with a few cool apps already installed, such as python. When the files downloaded dont forget to unzip so you have the raw .img file.
2. Insert SD card
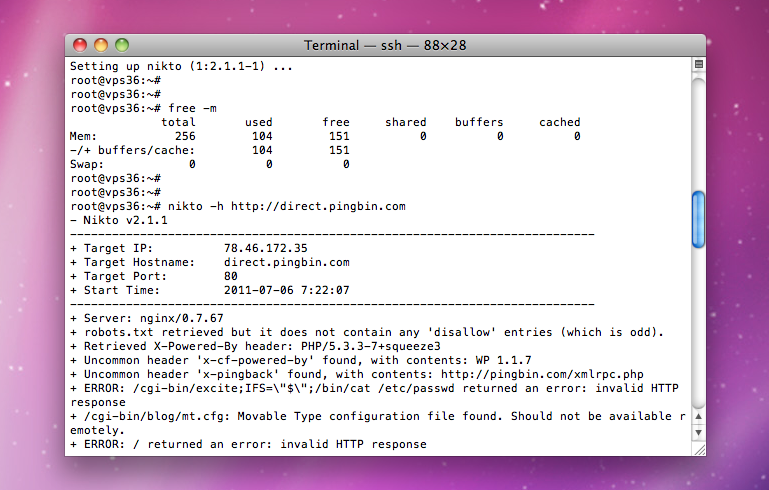
Nice and simple, insert the SD card into your MAC. Next open up a terminal session to work out what the SD card has been called by your OS using the df -h command.
Last login: Thu Jul 26 21:34:38 on ttys002
$
Filesystem      Size   Used  Avail Capacity   iused    ifree %iused  Mounted on
/dev/disk0s2   931Gi  676Gi  255Gi    73% 177229112 66751630   73%   /
devfs          188Ki  188Ki    0Bi   100%       650        0  100%   /dev
map -hosts       0Bi    0Bi    0Bi   100%         0        0  100%   /net
map auto_home    0Bi    0Bi    0Bi   100%         0        0  100%   /home
/dev/disk1       8Gi    1Mi  7.9Gi     1%       512        0  100%   /Volumes/Untitled
Hopefully you can see my 8GB SD card is showing as /dev/disk1, you will need that later on, ensure that you get the write filesystem otherwise you could format the wrong device.
3. Unmount the SD
The command for copying the .img won’t work while the device is mounted, run the following command first. Change the /dev/disk1 as required.
diskutil unmountDisk /dev/disk1
Unmount of all volumes on disk1 was successful
4. Copy your data!
Finally you can copy the .img file to your SD card using the ‘dd‘ command:
sudo dd bs=1m if=/Users/tom/Desktop/2012-07-15-wheezy-raspbian.img of=/dev/disk1
4. Copy your data!
Sit back and wait, the dd command will have to access all of the SD card. The larger and slower your card the longer it will take.
Once complete you should get a normal prompt back in your terminal window, be patient 🙂

9 comments On Format Raspberry PI SD card on Mac OSX
Thanks for this help. I tried it as you suggested and initially it did not work. I dug around and found that I had to rename the SD card from disk6s1 to rdisk6. This link helped me understand what was needed.
http://elinux.org/RPi_Easy_SD_Card_Setup#Copying_an_image_to_the_SD_Card_in_Mac_OS_X
Thanks for your help.
Thanks for the comment and helpful link!
When you say wait a while, how long for a 4GB SD card. I’ve been waiting for 20 mins and still waiting.
All depends on the speed of your SD card.
Have seen some take a few hours!
I dunno what’s going on with my Mac, but I’ve got a 16GB class 10 and it’s been over 4 hrs!! wth
Transfer speeds are higher when using the raw disk: /dev/rdisk1
sudo dd bs=1m if=2012-08-08-wheezy-armel.img of=/dev/rdisk1
Thank you! Really helped!
COOKIES!