 In this post I will take you through the fairly simple task of getting your Raspberry PI to control an LED via the GPIO interface, the task is simple however it lays a great foundation of knowledge for any further projects where you want to interface with an external electronic device.
So the first step is to install some software on to the Raspberry PI operating system via terminal or a remote SSH session. We actually want to install “wiringPi” however to do that we are going to use the very popular version control tool “git”, which should explain the following commands.
1. Software Setup
First we will install the core software required for git to work:
sudo apt-get install git-core
Next it’s aways best to ensure that our device is on the lastest version of software, so we will do an update and upgrade, depending on how long until you last did this it could take a while, coffee anyone?
sudo apt-get update
sudo apt-get upgrade
Ok so your back after the software update, now we are going to download the latest release of wiringPi;
git clone git://git.drogon.net/wiringPi
Now go into the directory and just double check with the pull command that you have all the required files.
cd wiringPi
git pull origin
Now time to build the software with a command that’s fairly easy to remember:
./build
Physical
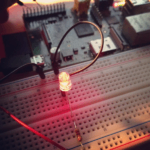
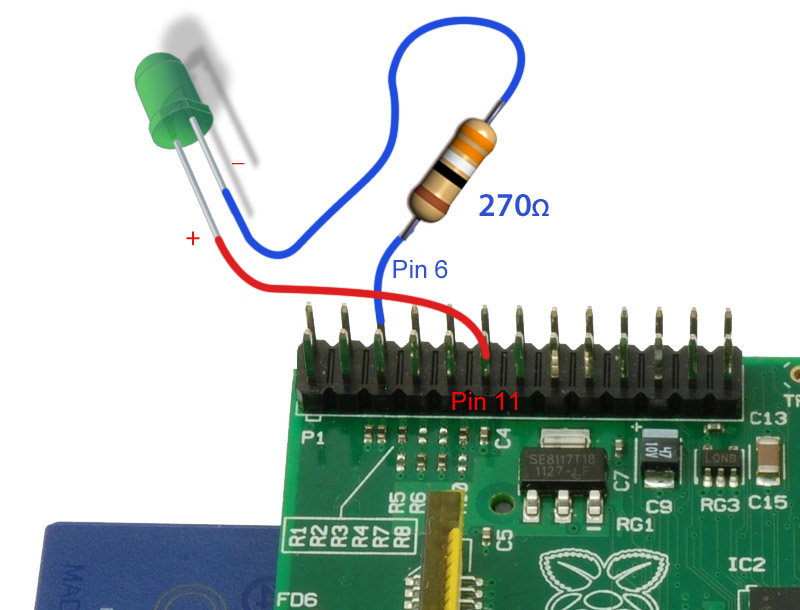
For the physical setup you will need an LED of your preferred colour, a small 270 ohm resistor and some wire to connect everything together. I would recommend using a breadboard as well it makes all this cabling and prototyping far easier to setup and tweak.
Below is a very simple diagram on how to setup your circuit.
Program
So now it’s time to make a really simple script, paste the following into your terminal session:
gpio mode 0 out; while true; do gpio write 0 1; sleep 1; gpio write 0 0; sleep 1; done
Note: Control + C will exit the program.
Let us know how you got along in the comments below, I will be adding another guide soon on how to get a few LED’s all working.


7 comments On How To: Control LED using Raspberry PI GPIO
What about the hardware side of things?
Have added a very simple circuit diagram on how to wire everything together.
nothing is happening, the script i am assuming should flash the LED, but it is ON all the time, which doesn’t surprise me as pins 1 & 6 are 3.3v and ground
Sorry, Pin 1 should be Pin 11!
Please… read the documentation, and use a resistor above 400 ohms.
Raspberry Pi has a limit for output current.
I got this to work the first time, but with a small resistor change. Apparently 270Ohm was a bit too much. Cut it down to 150Ohm, and it worked great. Thanks!
Awesome! I got my pi to blink everytime a log entry is found! I have an example here:
http://www.stinebaugh.info/get-led-alerts-for-each-blocked-ad-using-pi-hole/