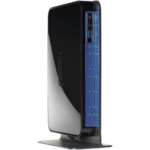
Quite a few netgear devices come with a hidden page that you can browse to, this will then enable Telnet access on the device. However it looks like on the DGND3700 this page has actually been removed from the code base. Fortunately there is still a way to enable Telnet access to this router.
1. What you will need:
- Download: Telnet Enable Netgear
- Windows Machine, download the file here
- PC on the same LAN as your router
- Administrator rights on your local machine
2. Setup
- Now you have downloaded the file from step one, extract it, and place the enclosed .exe on your desktop.
- Open up a command line window
- Hold the windows and ‘r’ key
- Type in the window ‘cmd’
- Press enter
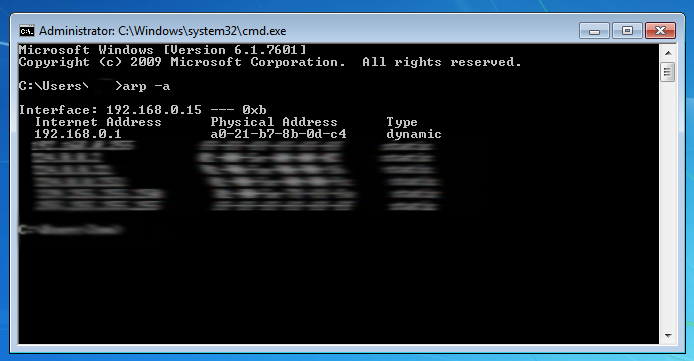
- In your command window enter the below command, and look for the physical address (MAC Address) for your router (normally 192.168.0.1).
- arp -a
3. Enable telnet
Run the below command to enable telnet, don’t forget to change the IP and Physical address to match your setup.
telnetEnable.exe 192.168.0.1 A021B78B0DC4 Gearguy Geardog
- telnetEnable.exe – is the script name
- 192.168.0.1 – your router IP address, as you use to manage via the web interface
- A021B78B0DC4 – Your physical address, from step 2
- Gearguy – The default user, case sensitive!
- Geardog – The default password, case sensitive!
3. Login
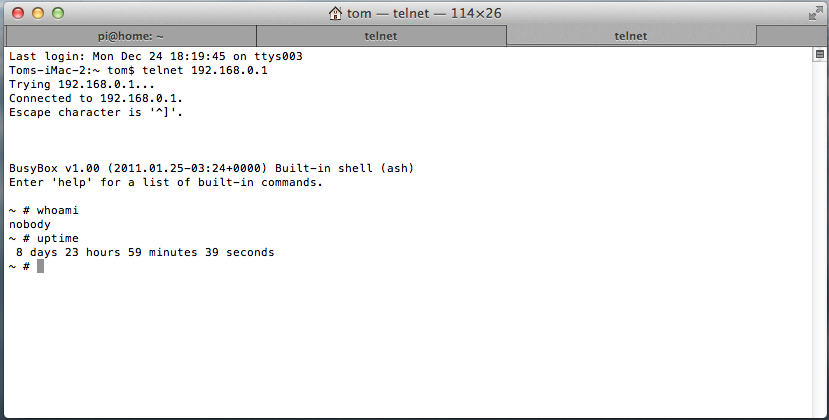
You can telnet from your current window, by using the below command:
telnet 192.168.0.1
Or if you plan on doing a lot of work on the router I would suggest downloading a client like PuTTY
If your propmeted for a username or password use the ones mentioned in step 3.
Happy Hacking!


1 comments On Telnet Access on Netgear DGND3700
Already this thing is fixed in firmware mod by richud